
How to Install and Configure Stylish Internal Links WordPress plugin
HOW TO USE STYLISH INTERNAL LINKS WORDPRESS PLUGIN
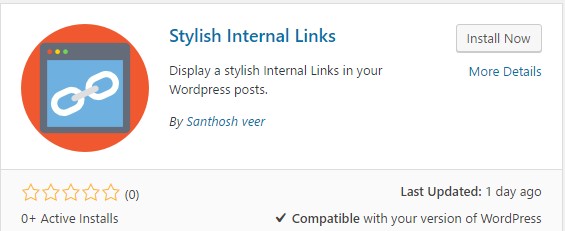
Finally Releasing My third WordPress plugin Stylish Internal Links WordPress plugin Display a stylish Internal Links on your WordPress posts.
Already we release a Stylish Internal link WP plugin, but this Plugin Have Advanced Feature’s like
- Custom options panel
- Insert shortcode from post and page editor
- Change the Internal link box color
ADVANTAGES OF USING THIS PLUGIN
- Improve your Blog Ranking
- enhance the reader engagement
Stylish Internal Links For WordPress
New version 1.5
New TinyMCE Post Editor added for Inserting the Shortcode on the post/pages
- Go to Plugins > Add New > search as Stylish Internal Links
- Now click Install Now activate the plugin
- Now go to plugin settings inside the WordPress settings

- Now choose your Favorite color for the Stylish internal box.

- After all configuration click “save settings.”
- Now open post Editor you can Find the “Insert New Stylish Internal link” on the TinyMCE Post Editor

- Click Stylish Internal link Button and add your internal links. Title, subheading
- Now Click Add shortcode to display the Stylish Internal links on your WordPress posts
- You can also add the Shortcode manually in the post
[mlink subhd="YOUR SUB HEADING" link="YOUR POST LINK"]LINK TITLE[/mlink]
- Here is the output of the shortcode check below image

Note – Design and Fonts are Display according to default theme style functions.
If you Need Any Help in Installation and Setup, Please Feel free to comment here I will Guide you.


0 Comments